Section 3: Sub Floor
Securing HAVEN into a Hardwood Floor or Subfloor
Alright, now we are to the final steps of installing HAVEN. You made it. Just one more module to go, and you will have a fortress instead of home.
In the last module, you drilled your pilot holes into your hardwood floor or subfloor. Now, it is the easy part. We will screw down HAVEN to the floor with the 6 included HAVEN install screws.
Tools needed:
- Screws (provided)
- 9-18v Power Drill
 Phillips drill bit
- Phillips Screwdriver
-
1 Cleaning Area

First, we need to clean out each pilot hole you drilled from the last module. This is critical. Do not skip this step. If your pilot holes are not properly clean, your Haven will not be securely fastened, and it will lower the strength of the unit. Your safety and your family's safety is at stake. Use a vacuum cleaner or compressed air or any device that will blow air into the holes. You want all the dust to fly out of the hole. Clean the surface around the holes as well. You want to install HAVEN in a pristine environment for full strength.
-
2 Placing HAVEN

Place HAVEN on the four pilot holes you have drilled. If you haven't drilled them yet, go back to Lesson 3-1 Drilling Pilot Holes into Hardwood. Your HAVEN should align perfectly with the four pilot holes. If not, you have got a problem. You might have to go back and make sure your pilot holes were correctly marked before you drilled them. If this has happened, please contact us and we will help you will some pointers or go ahead and make another pilot hole that matches the four holes on HAVEN.
Now, you should have already taken off the locking gate cover. If you have not, go ahead and remove the four screws on the front of HAVEN and take off the cover.
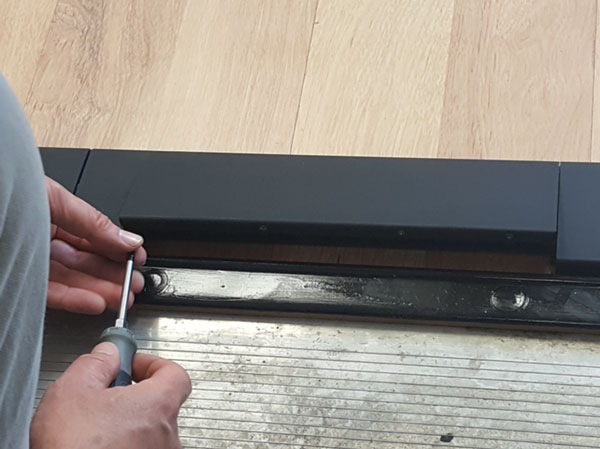
Your HAVEN should be placed over the four pilot holes you drilled. In order to place the anchors, you need to push the nylon strap to the side of each hole.
-
3 Securing HAVEN
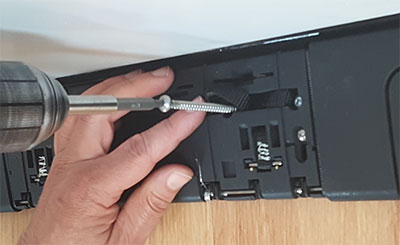
HAVEN should be placed over the four pilot holes and the gate should be off. Now it is time to screw in HAVEN to your floor or subfloor.
Take one of the 6 HAVEN Install screws and place it into one of the pilot holes. Remember make sure the nylon strap is out of the way so it is not damaged in the drilling process. Take your power drill and Phillips head drill bit and slowly start screwing in the HAVEN Install Screw into the pilot hole. Remember, slow and steady wins the race. It is a marathon, not a sprint.
Screw in the Install Screw until it is about a 1⁄8 inch is left. Repeat this for each pilot hole. You want to leave a little wiggle room so that you don't misalign one of the pilot holes from the HAVEN hole.
Now finish screwing each of the 6 Install Screws so they are tight against the steel bottom of the plate. Use common sense here. Don't screw them in so tight that you strip the head of the screw. Use the drill to tighten them until there is no budging.
-
4 Replacing the Lock Gate Cover
Now that your HAVEN is secured to the hardwood floor or subfloor. You need to replace the locking gate cover. Make sure your door is open. Walk outside to get a good angle, and used the 4 screws you removed to replace the cover to HAVEN.