Section 3: Sub Floor
Securing HAVEN in concrete sub floor
The best and easiest way to install your HAVEN Lock into concrete is a via a Concrete Anchor Screw. The most popular version is called TapCon. Tapcon is the #1 recognized screw anchor brand in the industry with unmatchable performance in concrete, block and brick applications, making it a viable alternative to expansion anchors, plugs and lag shields.
Tools needed:
- 9-18v Power Drill
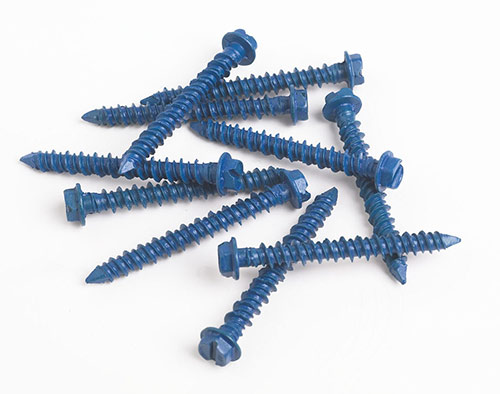 Tapcon Anchor Screws
 Phillips drill bit
- Safety Goggles
-
2 Cleaning Holes

You absolutely must clean out the hole you have made in the concrete before you install the TapCon concrete screw. Used compressed air if possible. Make sure there is little to no debris inside the drilled hole. A shop vac will also work to clean the hole.
Proceed to Lesson 3-3 Drilling Pilot Holes into Concrete.
-
3 Prepare Your HAVEN

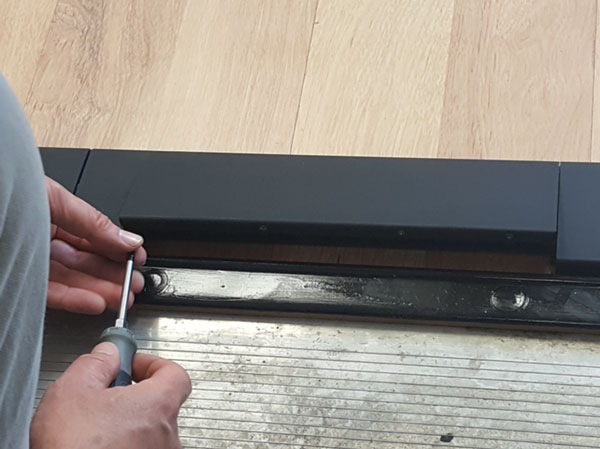
Place HAVEN on the four pilot holes you have drilled. If you haven't drilled them yet, go back to Lesson 2-5: Drilling Pilot Holes into Concrete. Your HAVEN should align perfectly with the four pilot holes. If not, you have a problem. You might have to go back and make sure your pilot holes were correctly marked before you drilled them. If this has happened, please contact us and we will help you will some pointers or go ahead and make another pilot hole that matches the four holes on HAVEN.
Now, you should have already taken off the locking gate cover. If you have not, go ahead and remove the four screws on the front of HAVEN and take off the cover.
Your HAVEN should be placed over the four pilot holes you drilled. In order to place the anchors, you need to push the nylon strap to the side of each hole.
-
5 Replacing the Lock Gate Cover
Now that your HAVEN is secured to the floor, You need to replace the locking gate cover. Make sure your door is open. Walk outside to get a good angle, and used the 6 screws you removed to replace the cover to HAVEN